Whenever I find any app useless or no longer need it, I delete it. The process of eliminating an app on iPhone 8 or earlier is pretty simple. Just touch and hold the app you want to shoot out of your device and when the apps start wiggling, tap on the “X” button on the app and then hit Delete in the popup to confirm. In the end, press the Home button to finish. But how do you stop wiggling app icons after eliminating an app on iPhone X, Xs, Xs Max, and XR as it doesn’t have a Home button?
Guess what; it’s just as easy to get out of the edit mode on the iPhone X series. Check out where the twist lies!

How to Quit Edit Mode After Deleting Apps on iPhone X, Xs, Xs Max, and XR
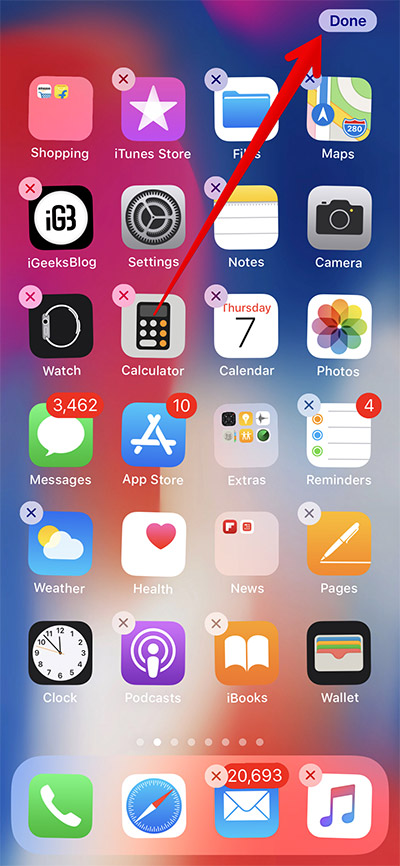
Step #1. First off, you need to enter the edit mode on your iPhone. To do so, you have to touch and hold an app icon.
Step #2. And when an app starts shaking, the Done button will appear at the top right corner. Tap on it.
That’s all folks!
App icons will get back to their normalcy.
As the Done button is located in a corner, my eyes couldn’t notice it initially. Hence, I thought the only way to get out of the edit mode was to press the side button. But it was not convenient at all. Luckily, my eyes soon found the slightly hidden button.
Your take:
How has been your life without Home button on iPhone X series? Have you got used to the Home bar or don’t find it as convenient as the Touch ID button? There is a way you can get a virtual Home button to your iPhone X or later to carry out some basic functionalities like capturing screenshots a bit more conveniently.
Tips:
Restoring Lost Photos and Videos from iPhone
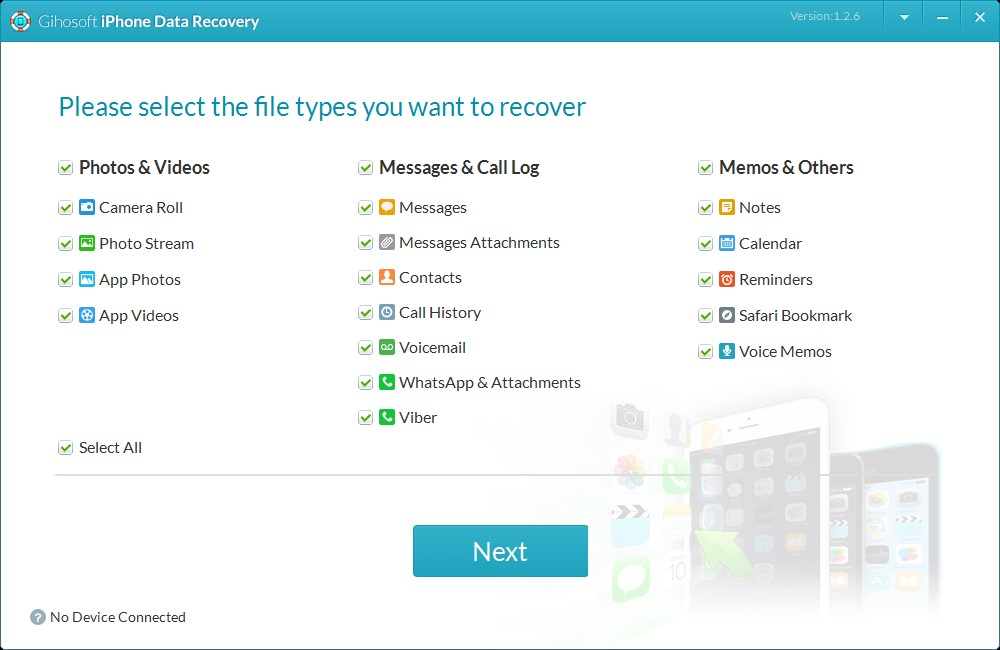
If you have deleted some of your pictures or videos from your gallery, then there is a straightforward way to Recover Deleted Files iPhone back.
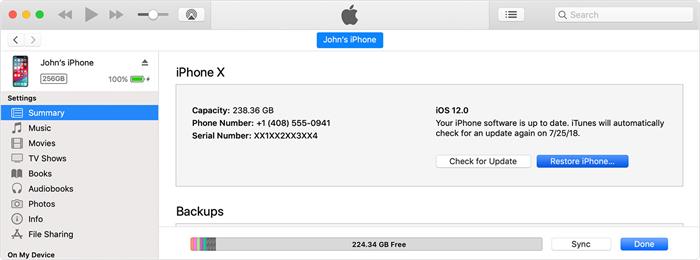
After you delete the media files from your gallery, be it photos or videos, then you must know that iOS has a feature that the deleted media files doesn’t get deleted immediately, but it gets compiled to a temporary folder from where it gets deleted after 30 days. If you lost data after you updated to a new iPhone, you can always use Gihosoft iPhone Data Recovery to get the data back from the old iPhone or backup. Should you wish to recover these files, you must go to that “recently deleted” folder and retrieve these files before 30 days.
If you use android phones, please choose Gihosoft Android Data Recovery.
Worth reading:Best youtube downloader online download youtube 1080p
Tips:
Restoring Lost Photos and Videos from iPhone
If you have deleted some of your pictures or videos from your gallery, then there is a straightforward way to Recover Deleted Files iPhone back.
After you delete the media files from your gallery, be it photos or videos, then you must know that iOS has a feature that the deleted media files doesn’t get deleted immediately, but it gets compiled to a temporary folder from where it gets deleted after 30 days. If you lost data after you updated to a new iPhone, you can always use Gihosoft iPhone Data Recovery to get the data back from the old iPhone or backup. Should you wish to recover these files, you must go to that “recently deleted” folder and retrieve these files before 30 days.
If you use android phones, please choose Gihosoft Android Data Recovery.
Worth reading:Best youtube downloader online download youtube 1080p